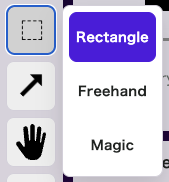
Bucket Tool is used to process a closed area all at once. In addition to normal fill, it also supports erase fill and dithering fill.
Icon
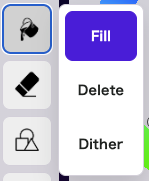
This is the bucket icon. Clicking it opens a sub-menu.
Fill Settings
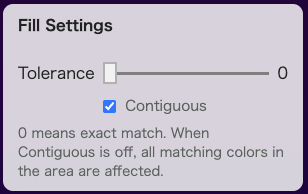
The fill settings let you control Tolerance and whether the operation should be limited to Contiguous pixels. The screenshots below show how those two settings change the result.
Tolerance
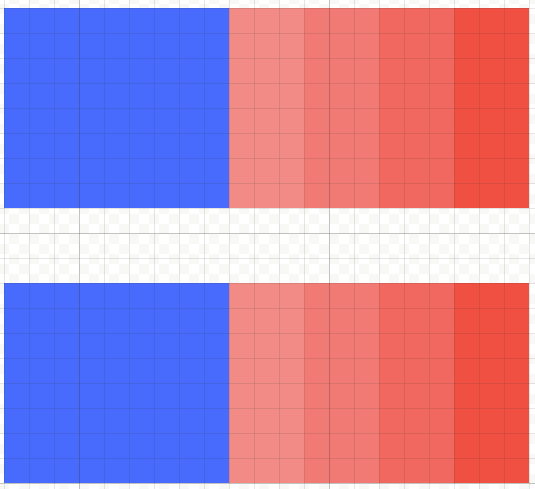
Tolerance controls how similar the target color may be and still count as fillable. For example, with tolerance set to 0, if you fill the top-left cell of the gradient sample below with blue, only exact matches are affected.
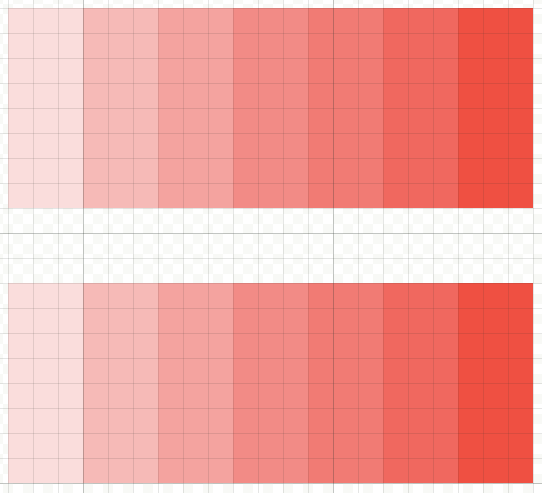
The result looks like this.
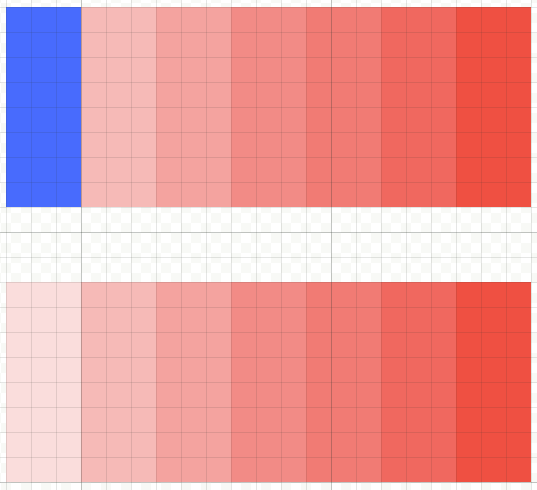
If you run the same operation with Contiguous unchecked, even disconnected islands of the same color are affected.
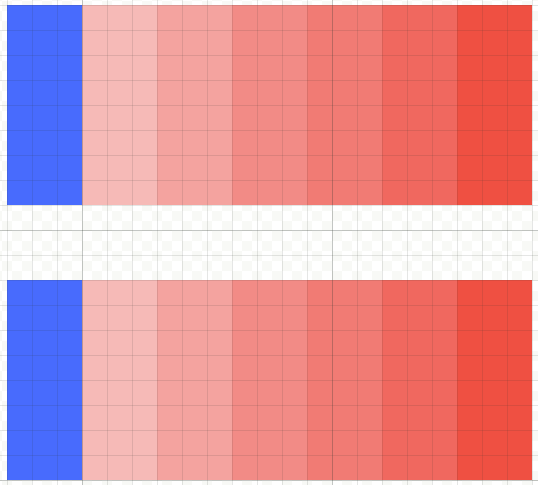
When you widen the tolerance and run it again, more similar colors are gathered into the fill.
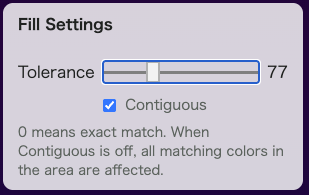
This is useful when similar colors are scattered around the image or when you want to merge nearby tones more aggressively. The same rules apply to Erase and Dither Fill.
Erase
Erase replaces the target area with transparency.
Dither Fill
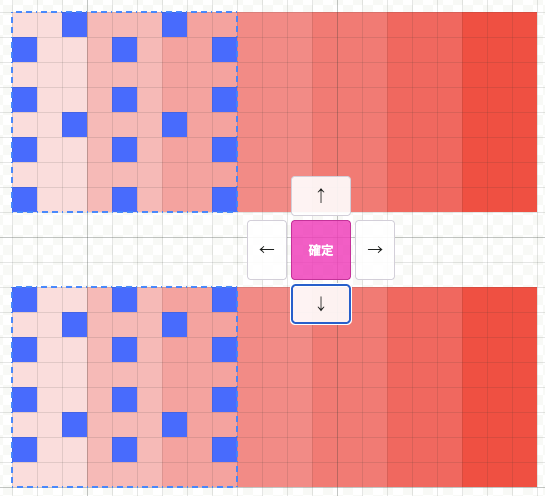
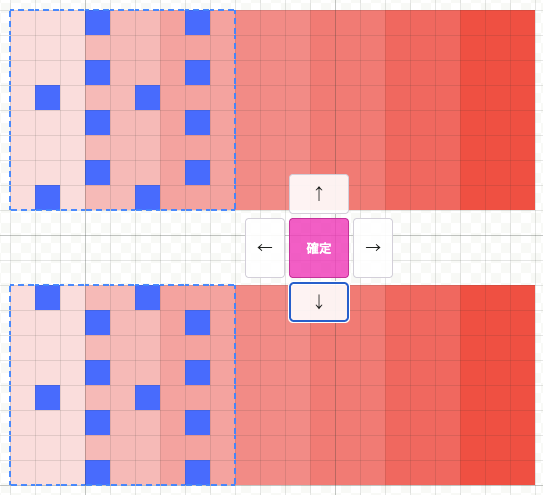
Dither Fill paints the target area with the currently selected dithering pattern.
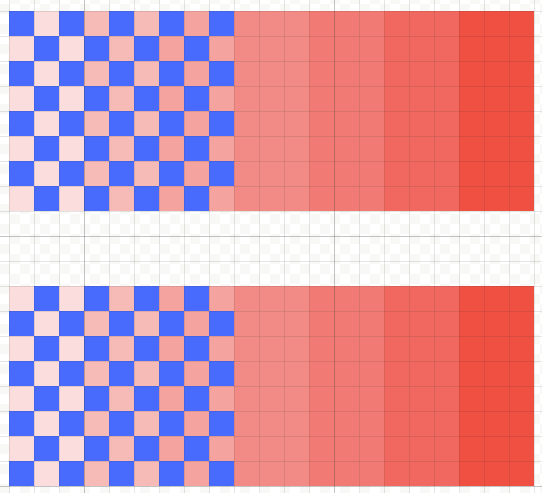
Like the Dithering Pen Tool, you can fine-tune the pattern position with the on-screen arrow buttons or the keyboard arrow keys.
Shortcut
The default shortcut for the bucket itself is Shift + B. There are no separate default shortcuts for each sub-mode.
Related Shortcuts
- Hold
Space: temporarily pan the canvas Alt+ click: temporarily switch to the eyedropper