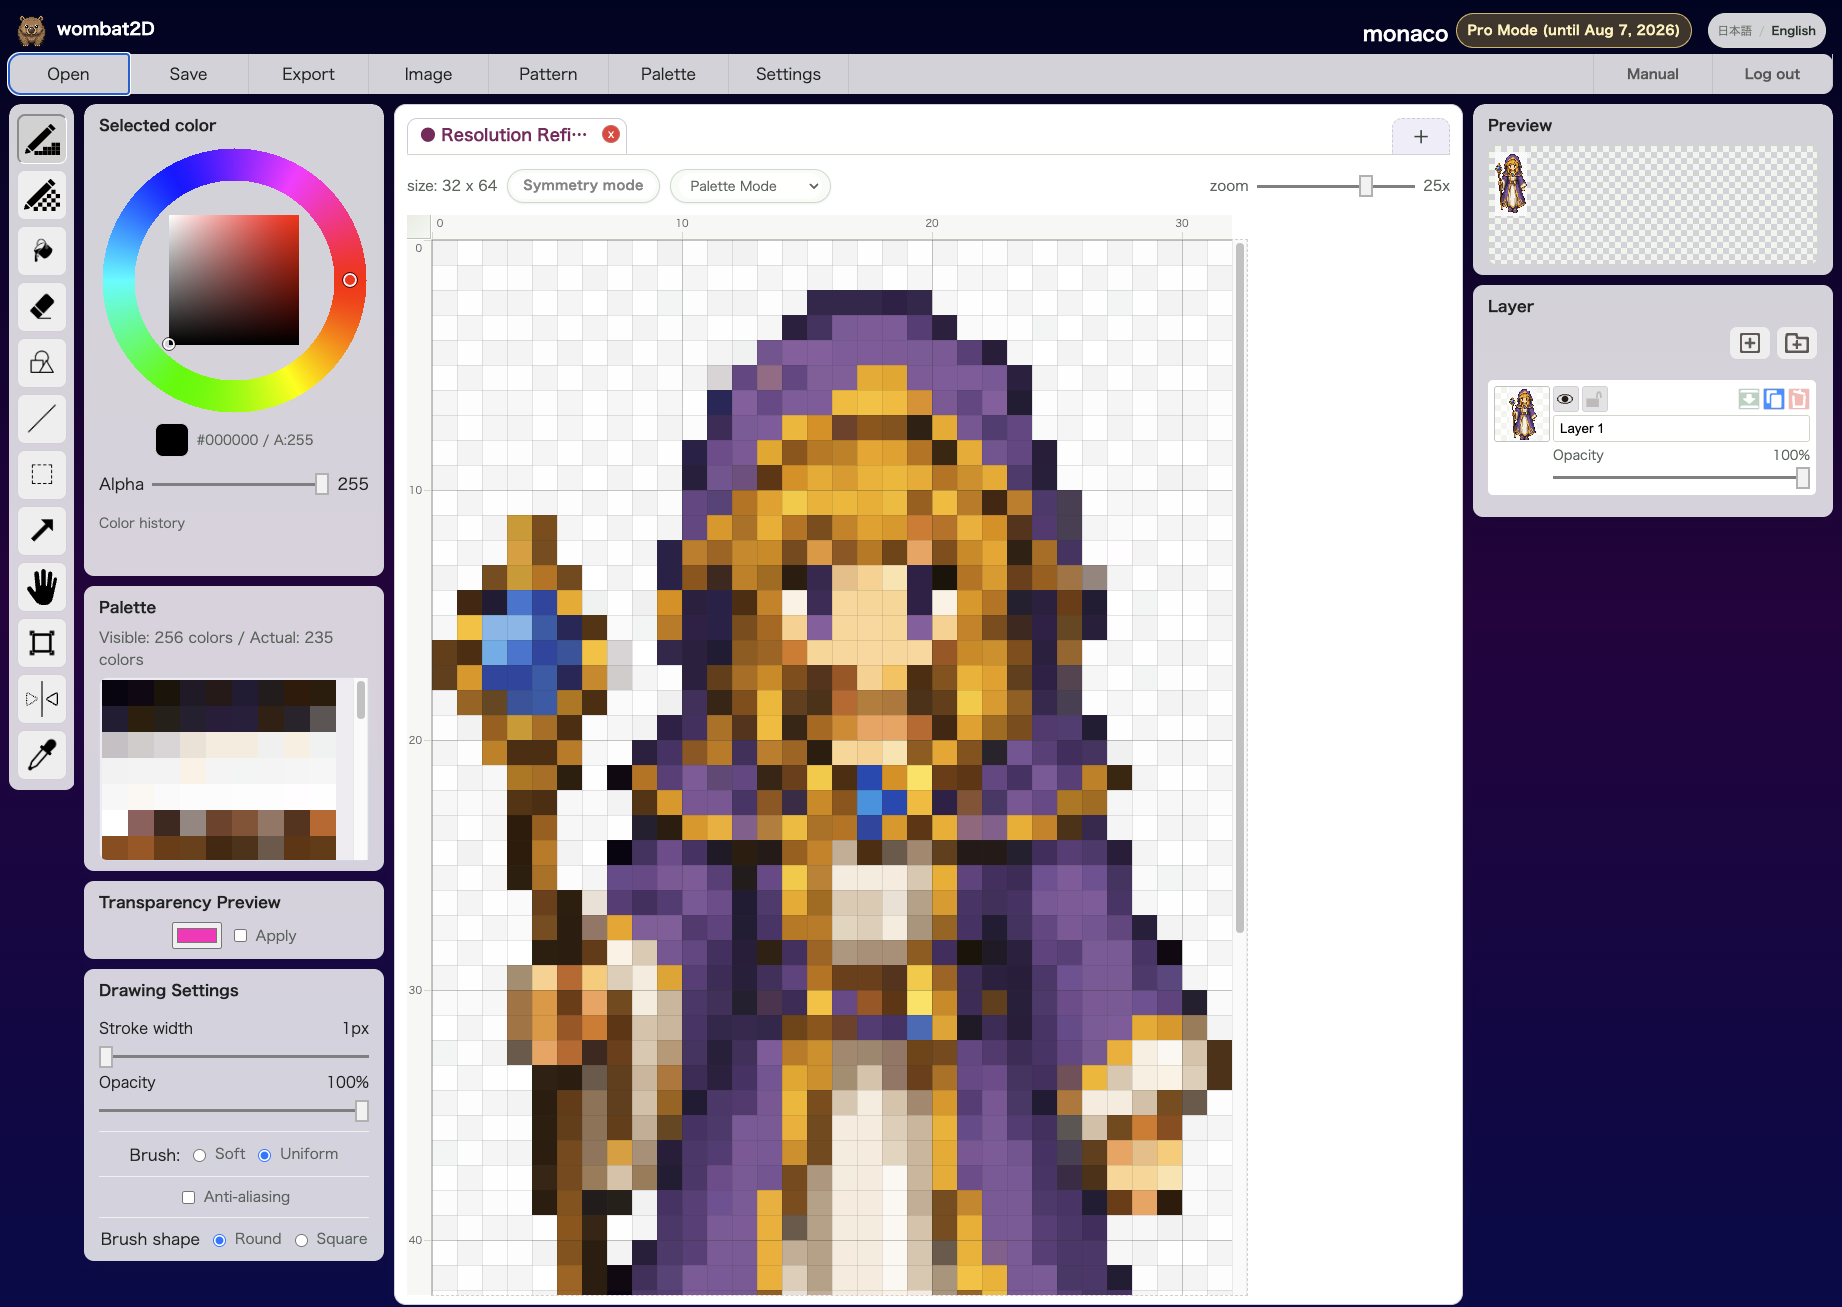
Import with Pixel Refine (Resolution) differs from the standard Pixel Refine feature by allowing you to specify the final size, or resolution, of the finished pixel art before processing the image.
Like the standard version, it is especially useful for converting AI-generated images or images with blurred edges caused by scaling into clean, easy-to-use assets for games.
How to use
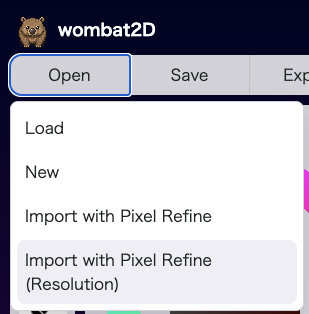
Using this feature is simple. First, go to Open > Import with Pixel Refine (Resolution).
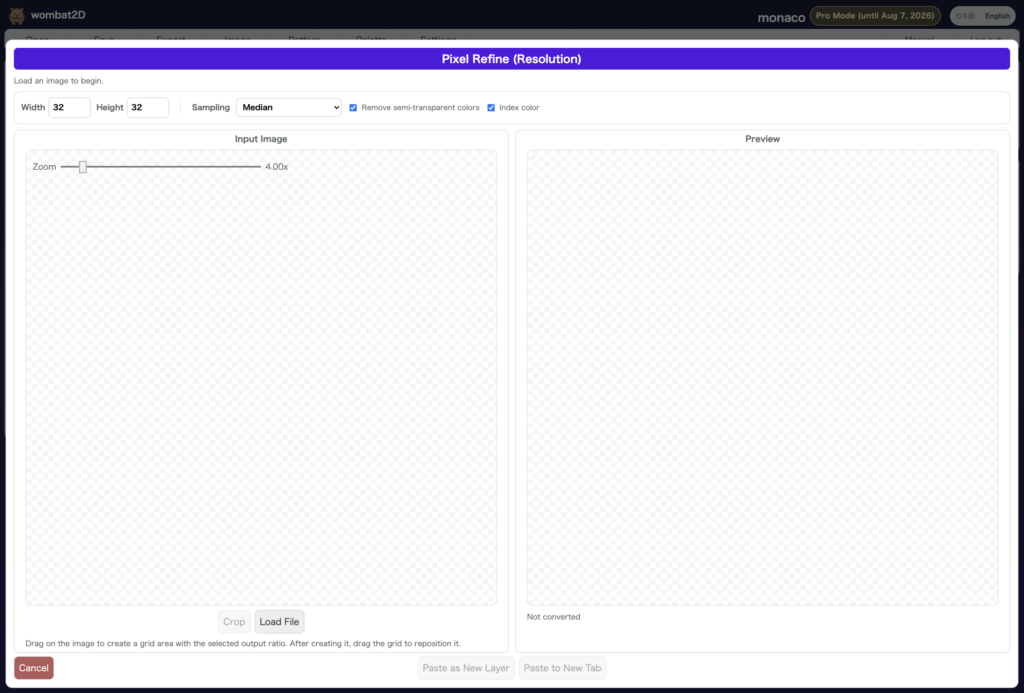
When the Import with Pixel Refine (Resolution) window opens, either click Load File near the bottom to select an image file, or drag and drop the image you want to open onto the left side of the window.
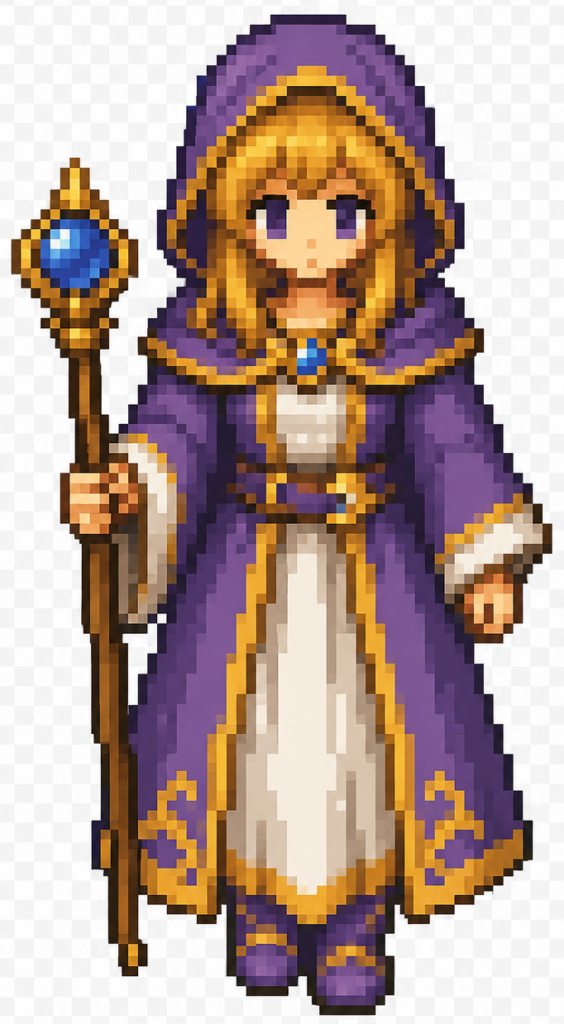
In this example, we will use the image below, which was generated with ChatGPT.
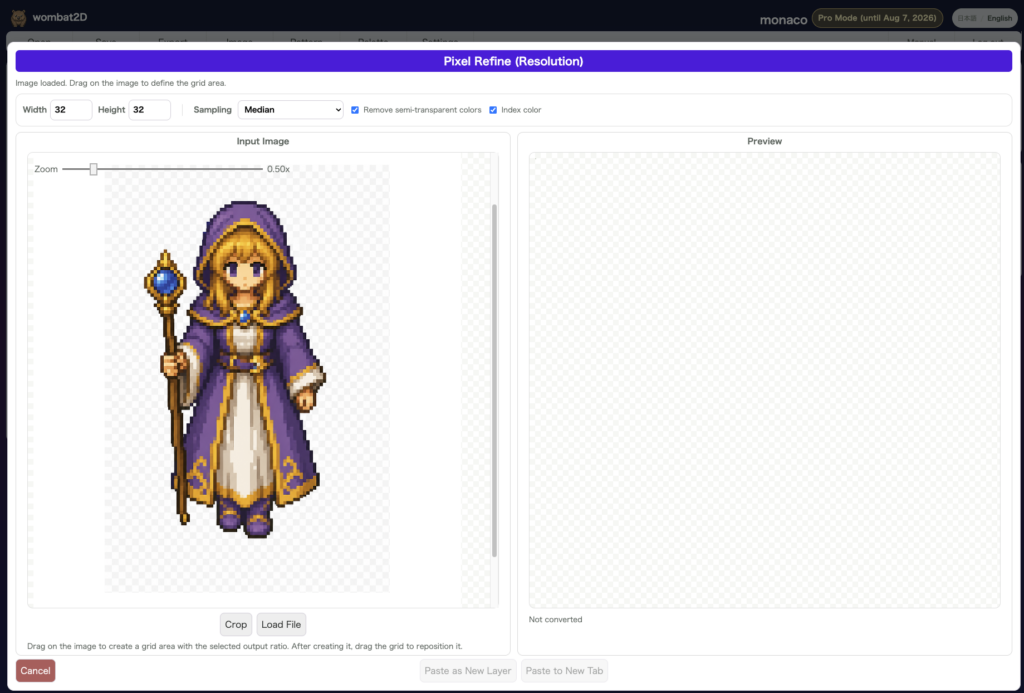
Once the image is loaded, it will appear on the left side of the window. Use the width and height fields at the top of the window to specify the output size based on your intended use.
For this example, we will set the resolution to 32 × 64 pixels, with use as a game asset in mind.
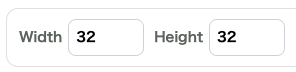
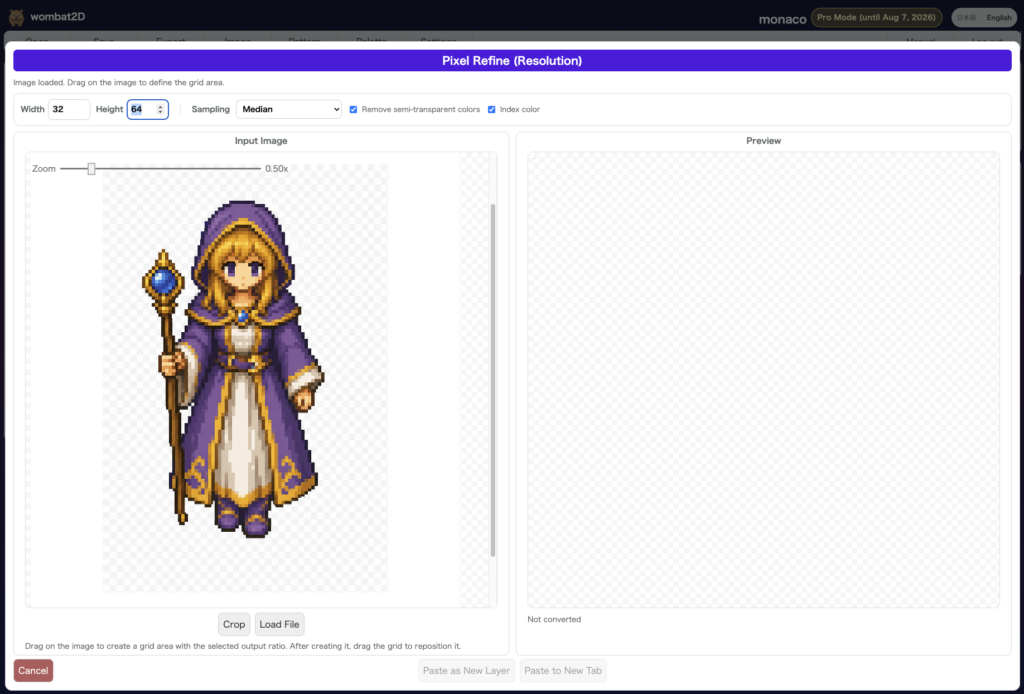
After specifying the size, click and drag over the loaded image to select the area you want to convert into pixel art.
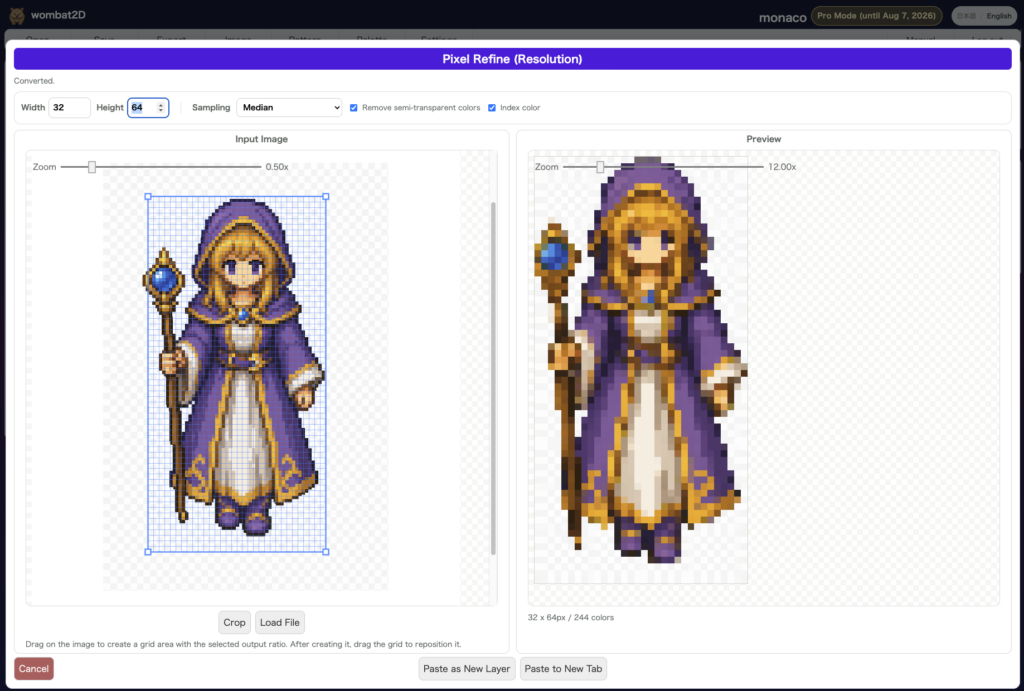
Once you select an area, a preview will immediately appear on the right side. Use the preview to fine-tune the position and size of the selected area.
At the top of the window, there is a Sampling option. This setting determines how the color of each pixel is selected when converting the image into pixel art. The default option is Median.
The examples below show the differences between the available methods.
Median
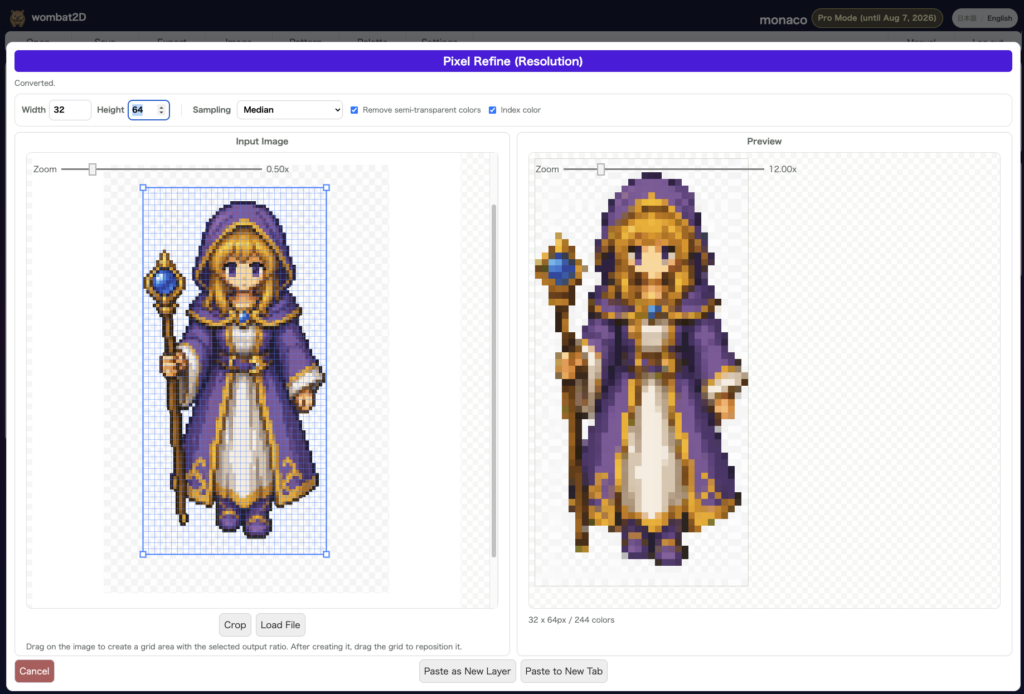
When converting the selected grid into pixel art, this method uses the median color within each grid cell to determine the color of the corresponding pixel.
This setting is well suited for retro-style pixel art and similar game assets.
Average
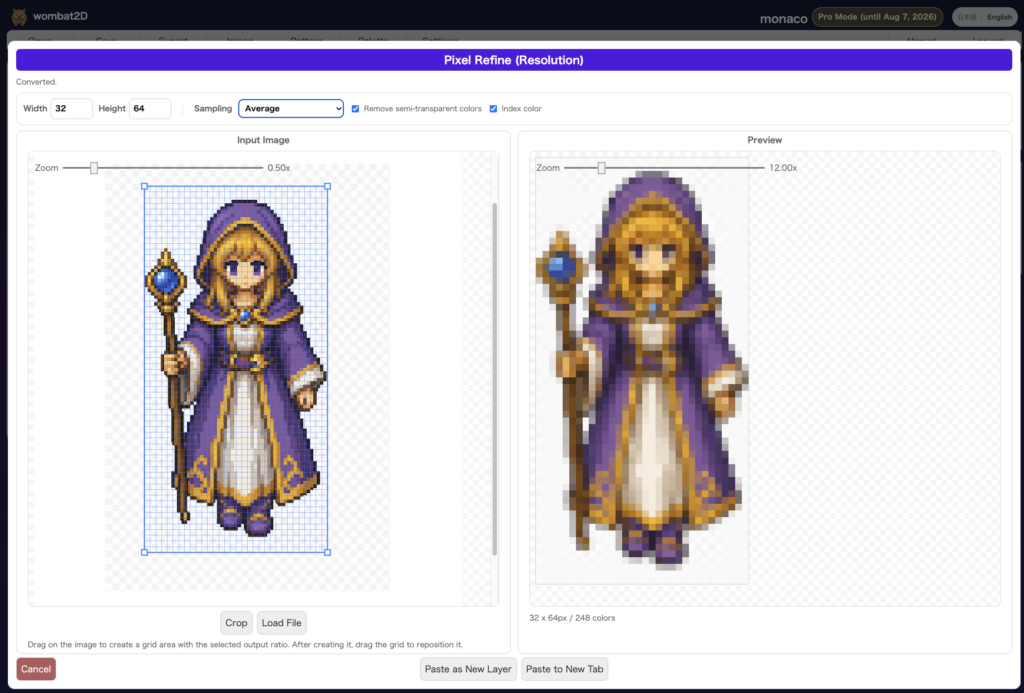
When converting the selected grid into pixel art, this method uses the average color within each grid cell to determine the color of the corresponding pixel.
The result appears smoother, but edges may look slightly blurred.
Most frequent
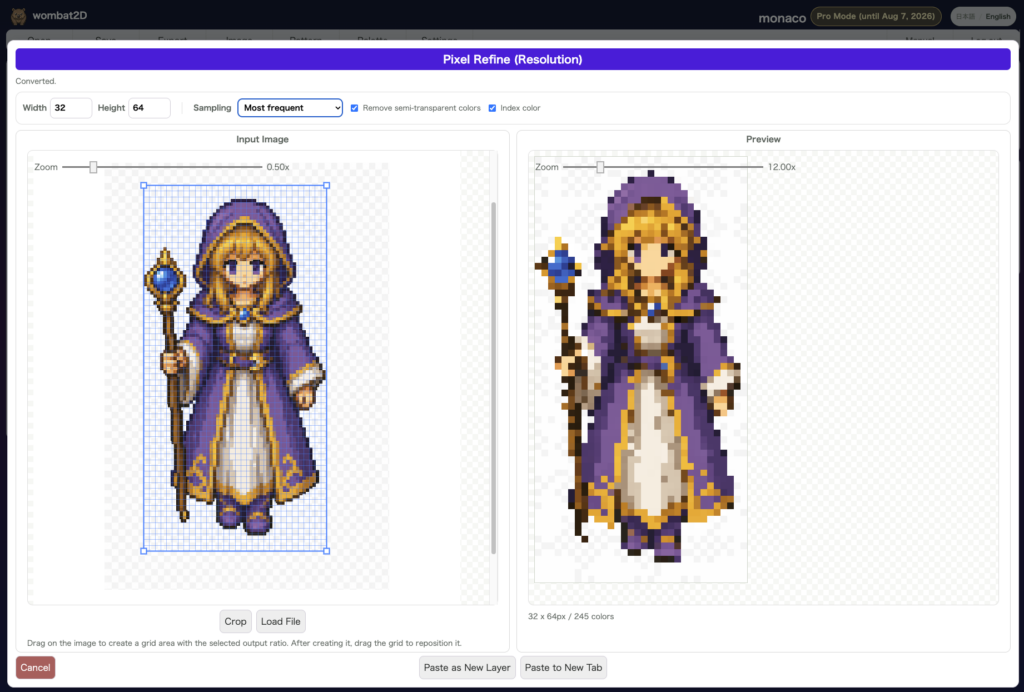
When converting the selected grid into pixel art, this method uses the most frequently occurring color within each grid cell to determine the color of the corresponding pixel.
Because it produces little ambiguity in color selection, the result appears very crisp and clearly defined. However, fine details such as outlines may be lost more easily.
Center Color
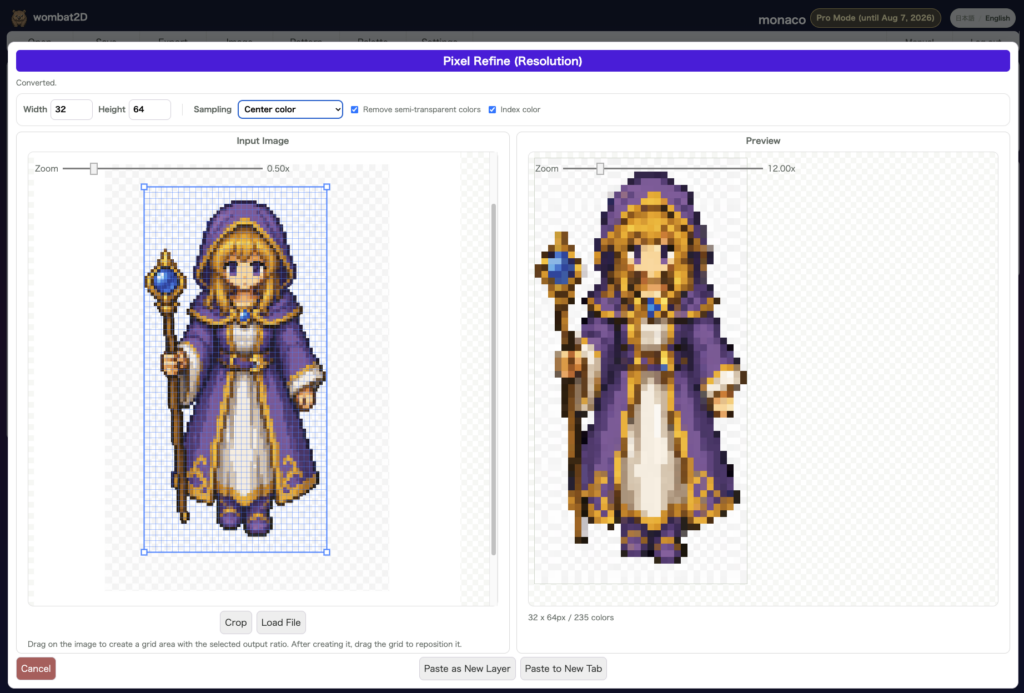
When converting the selected grid into pixel art, this method uses the color at the center of each grid cell to determine the color of the corresponding pixel.
Like the Median method, this setting is well suited for retro-style pixel art and game assets.
微調整が終わったら、現状のタブでレイヤーとして開くか、新しいタブとして開くかを、ウィンドウ下のボタンで選択して完了です。

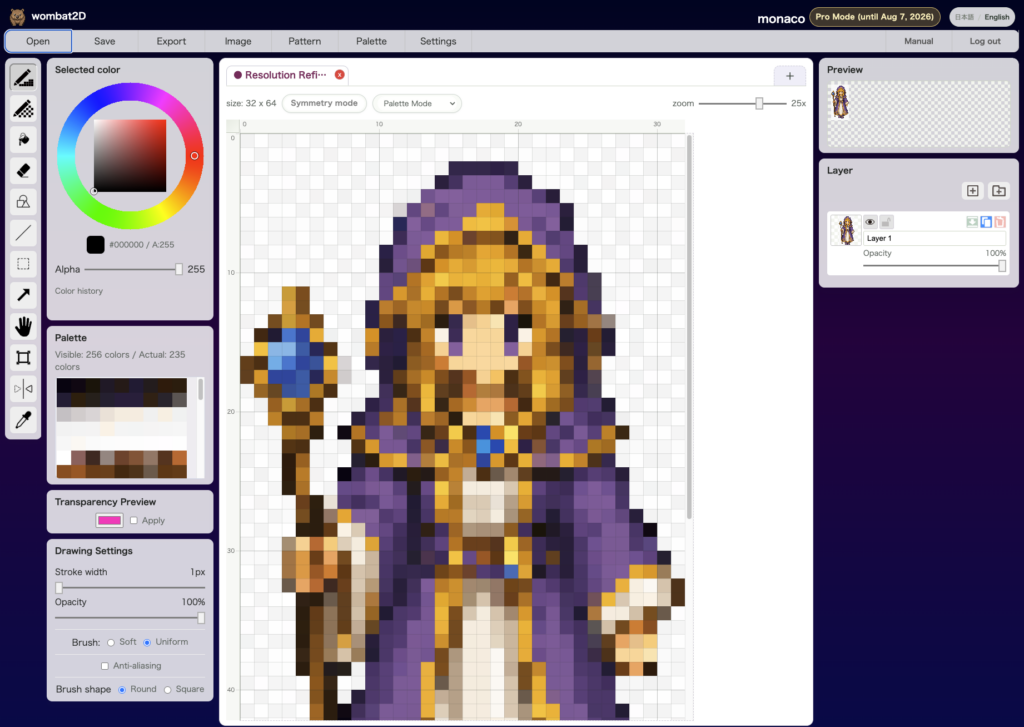
From here, you can make any minor adjustments you notice, and the image should be ready to use in a game or artwork.
Image Comparison
Now, let’s compare the original image, the image processed with the standard Pixel Refine feature, and the image processed with Pixel Refine (Resolution).
Original Image
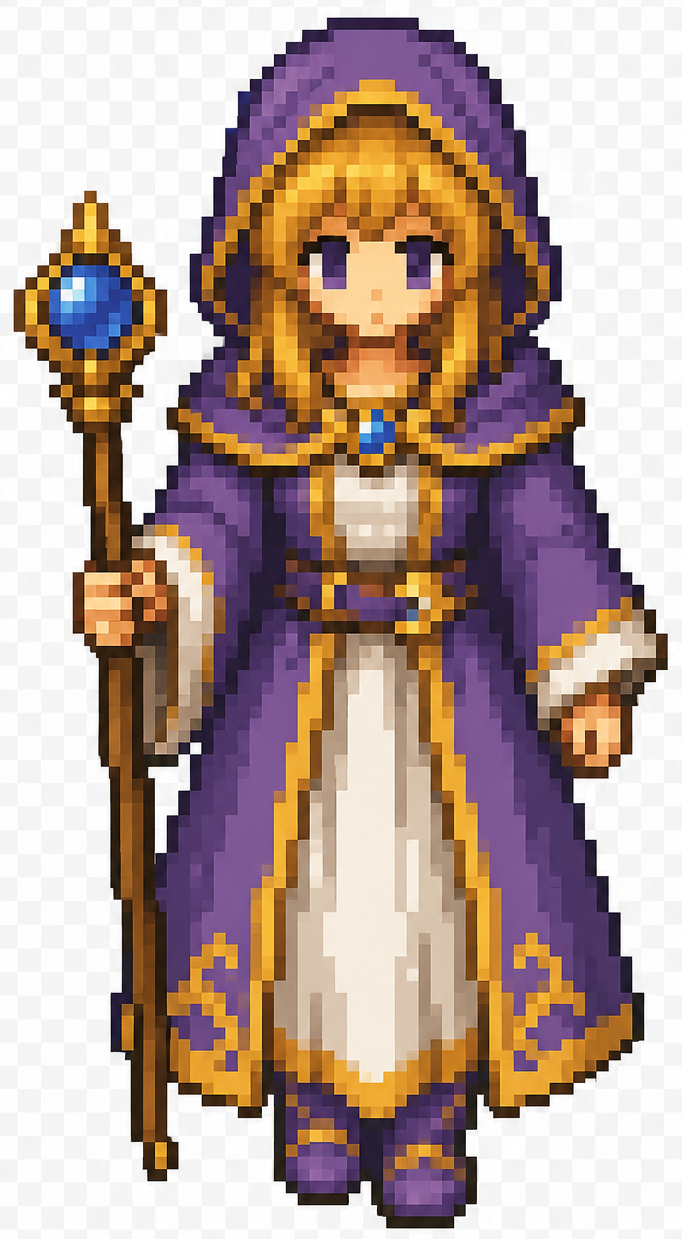
This is the original AI-generated image. At first glance, it looks like pixel art, but a closer inspection reveals that the pixel grid is inconsistent and poorly defined. As a result, it cannot be used as proper pixel art in its current form.
At this stage, the image resolution is 1239 × 682 pixels.
Pixel Refine (Standard)
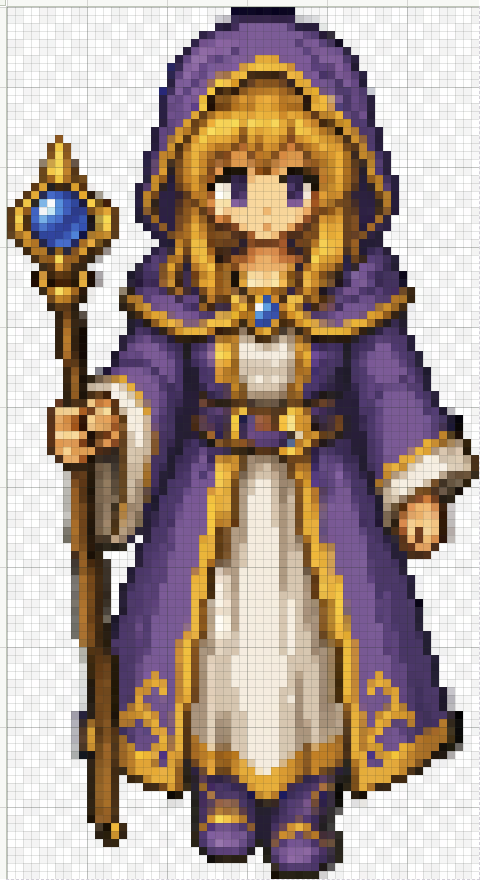
This image was converted into pixel art from the original image using the standard Pixel Refine feature. The grid is visible because the image is being viewed in the editor.
The resolution has been reduced to 115 × 62 pixels, making the image much easier to use in games and other projects.
Pixel Refine (Resolution)
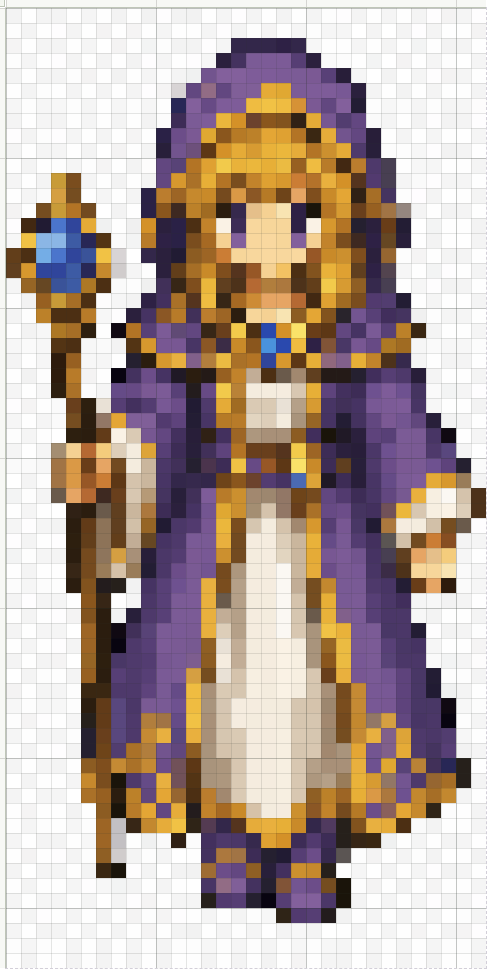
This image was converted from the original using Import with Pixel Refine (Resolution), with the output size set to 64 × 32 pixels.
Specifying the output size makes the image easier to manage when creating sprite sheets or integrating it into a game.
Use Cases
- When you want to clean up an AI-generated image for use as pixel art
- When you want to turn blurred outlines into clearer, more defined pixel shapes
- When you want to pixelate an image as a preliminary step before editing it by hand
- When your game project requires assets to follow specific size constraints
- When creating retro-style pixel art or game assets
補足
- Input images can be selected using the file-loading option.
- You can adjust the zoom level of the result while reviewing the converted image.
- After conversion, you can continue editing the image directly using the standard editing tools.

コメント