Pixel Refine loads an image and rebuilds it for pixel-art work based on a square that you define as “one pixel.” It is especially useful when you want to clean up AI-generated images or blurry scaled graphics so they are easier to use as game assets.
How to Use It
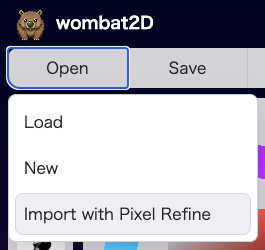
The workflow is simple. First, open Open > Pixel Refine.
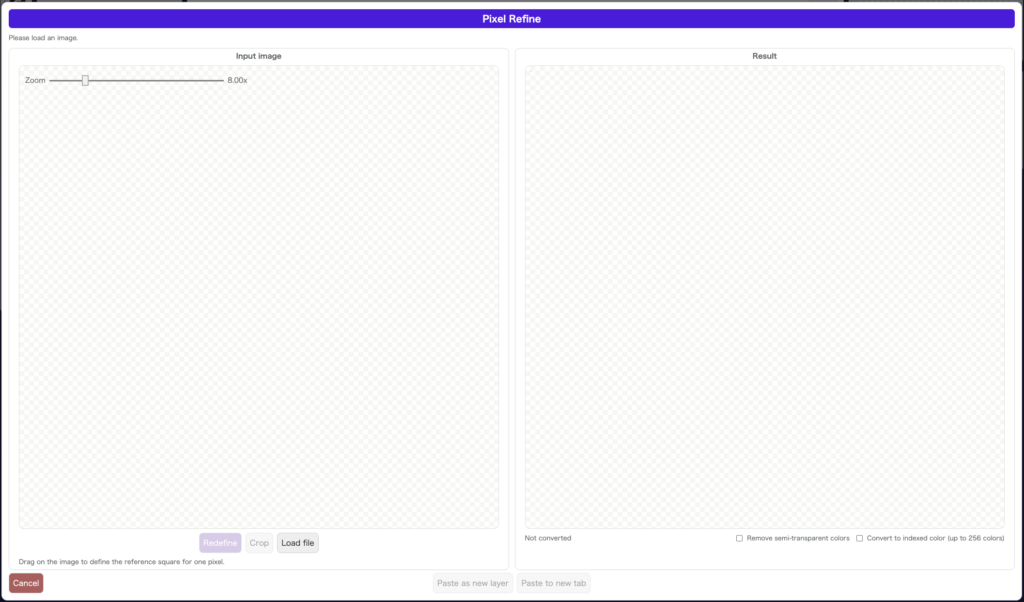
When the Pixel Refine window opens, load an image with Load File at the bottom or drag and drop the image into the left side.
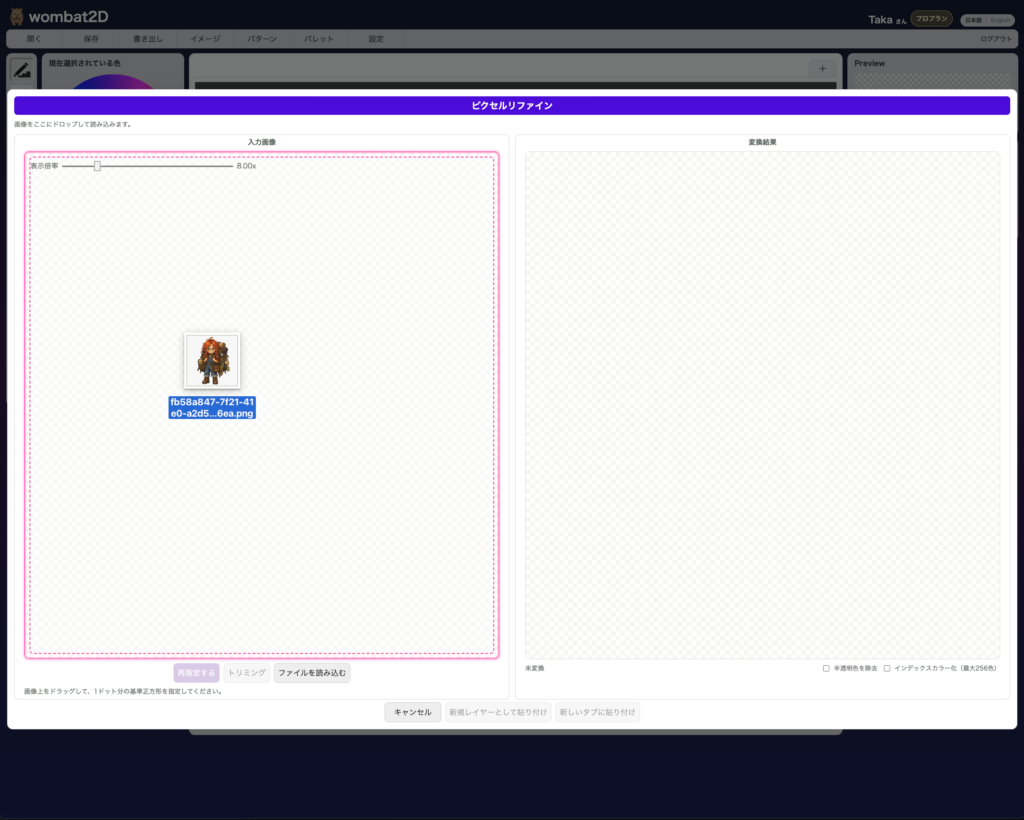
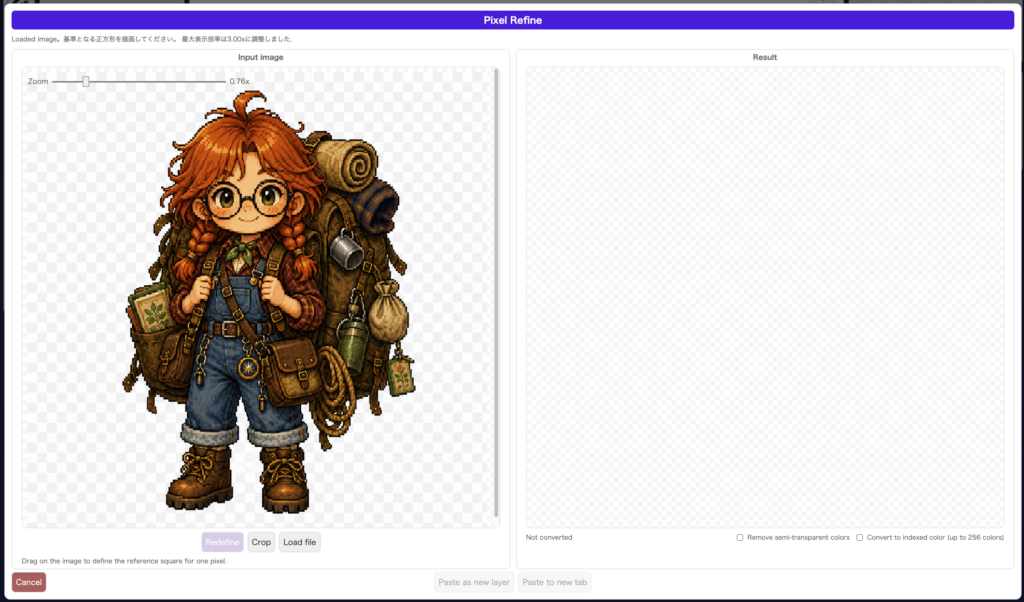
Once the image is loaded, you can start evaluating it. I will skip the prompt-crafting side of AI image generation here—most readers probably already know plenty about that part.
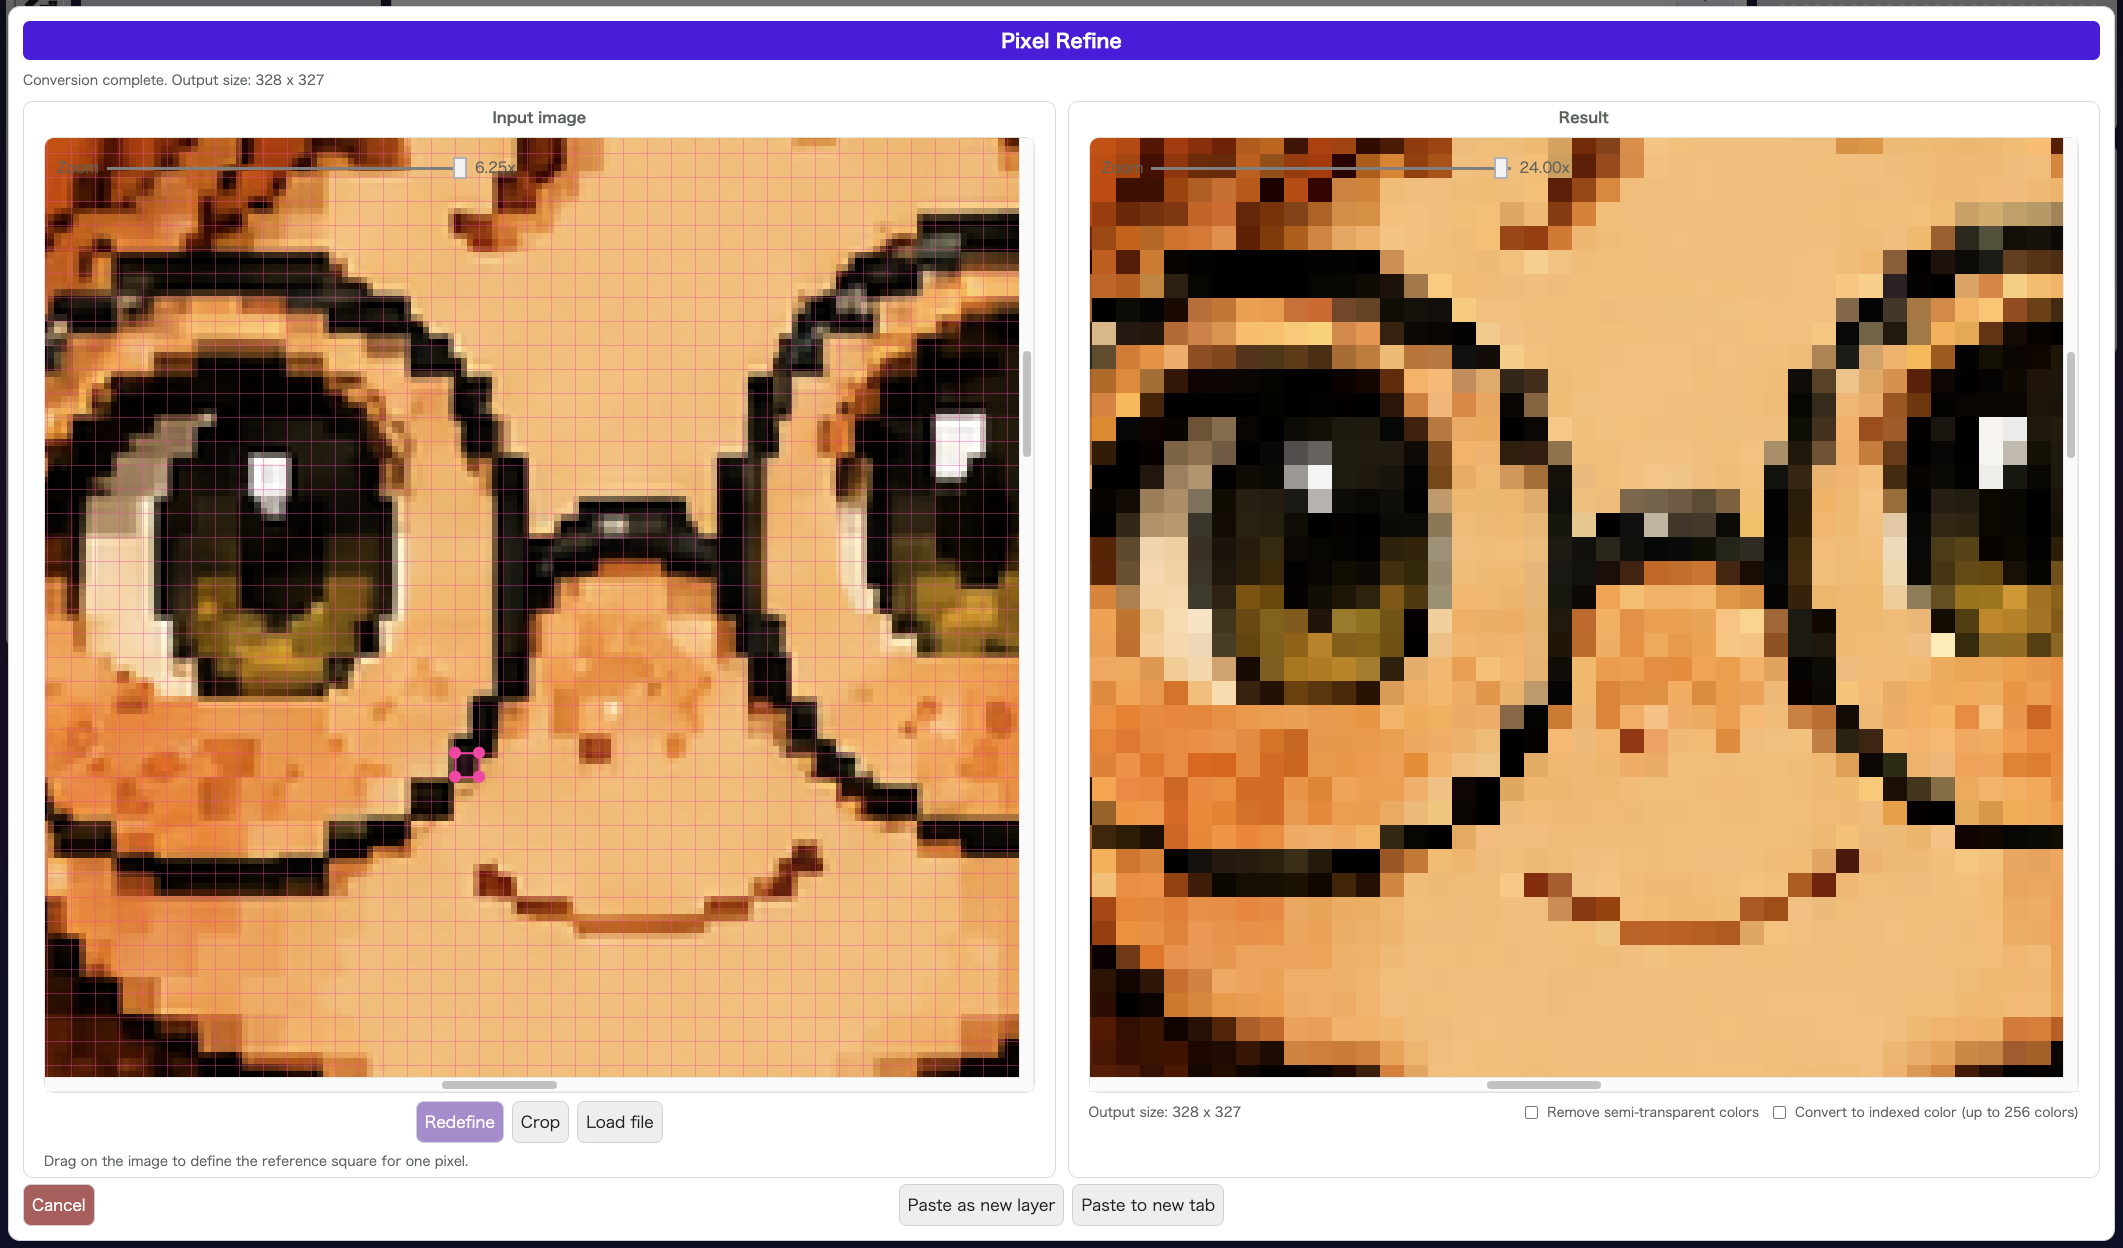
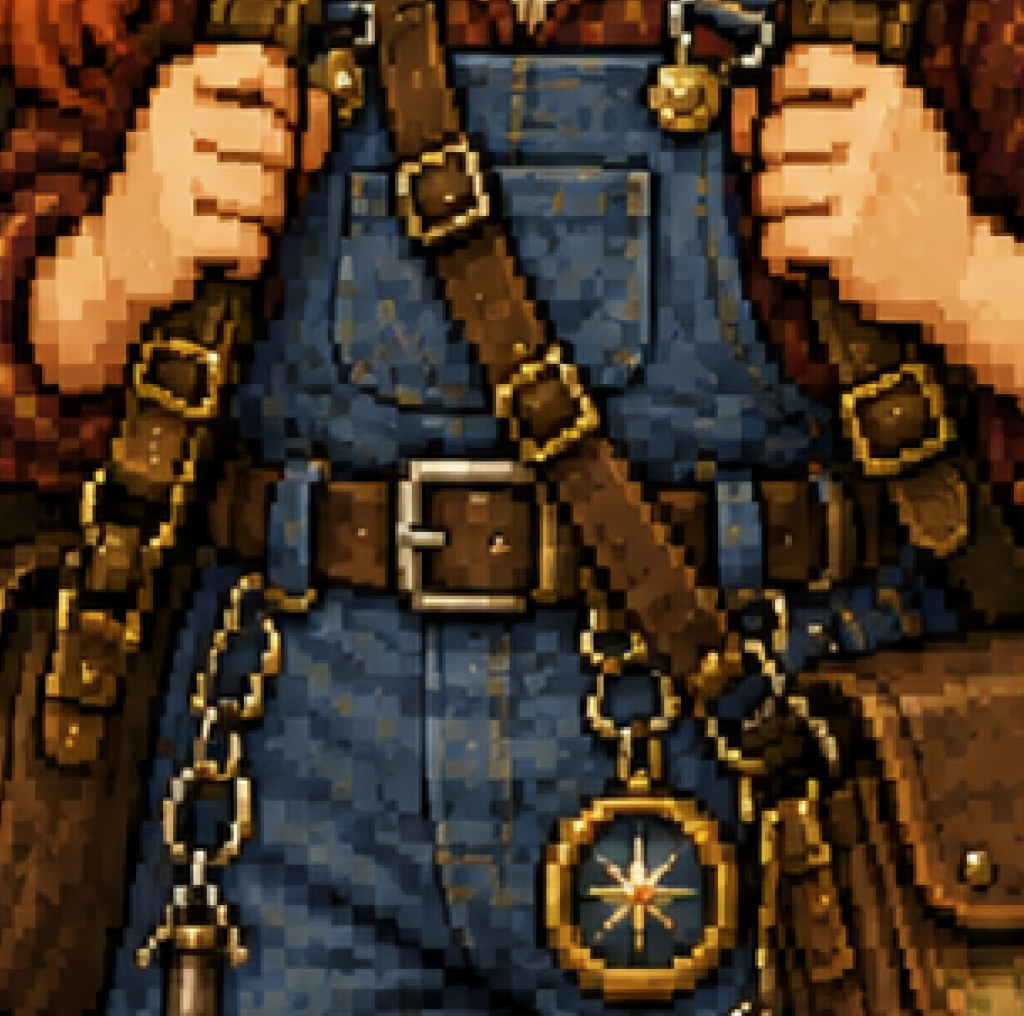
If you zoom in, you will notice that AI-generated “pixel art” often only looks pixel-like at first glance. It usually does not sit cleanly on a strict grid. Pixel sizes change from place to place, and positions drift slightly.
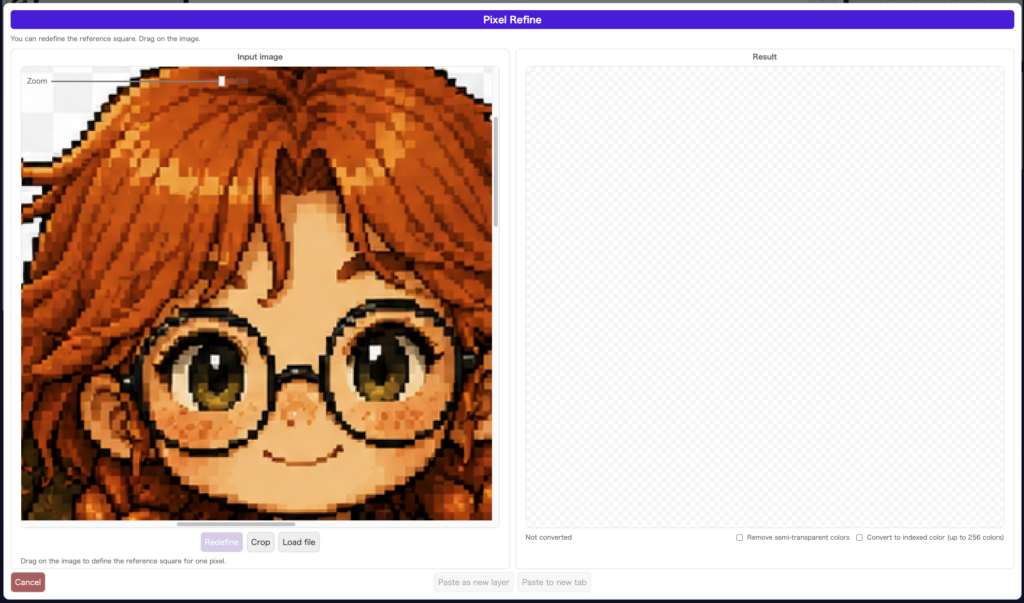
Fine accessories, metal parts, and small decorative patterns are especially likely to be drawn at a different apparent resolution than the face or body, so the image can feel inconsistent.
Next, drag on the image to define a square that represents one pixel. Pixel Refine uses that square as the base unit for its conversion. Once you define the square, a Confirm button appears. Click it when the selection looks right. You can redo the selection as many times as you like.
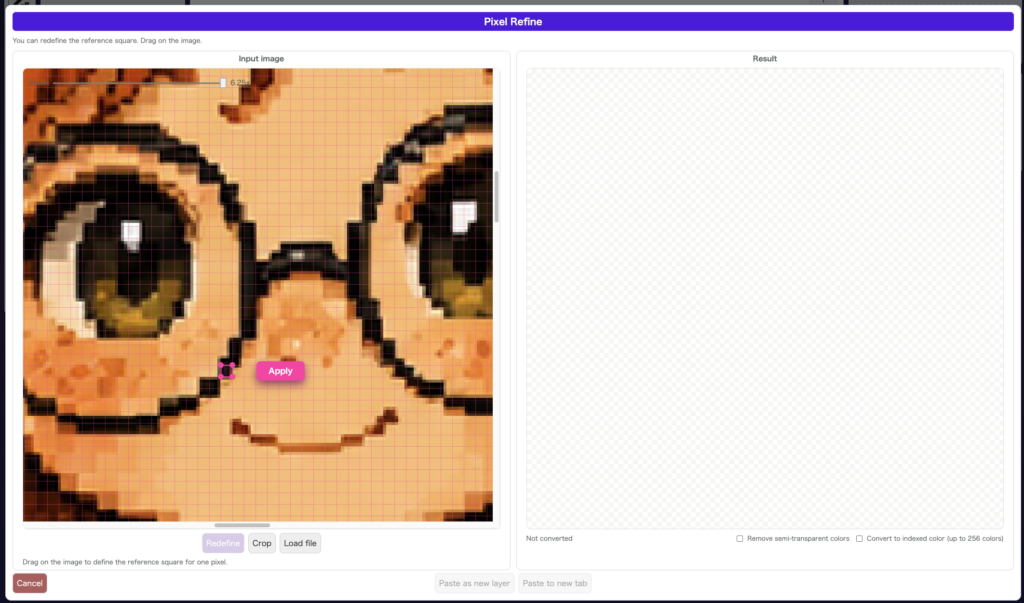
After you click Confirm, the pixel-refined result appears on the right side.
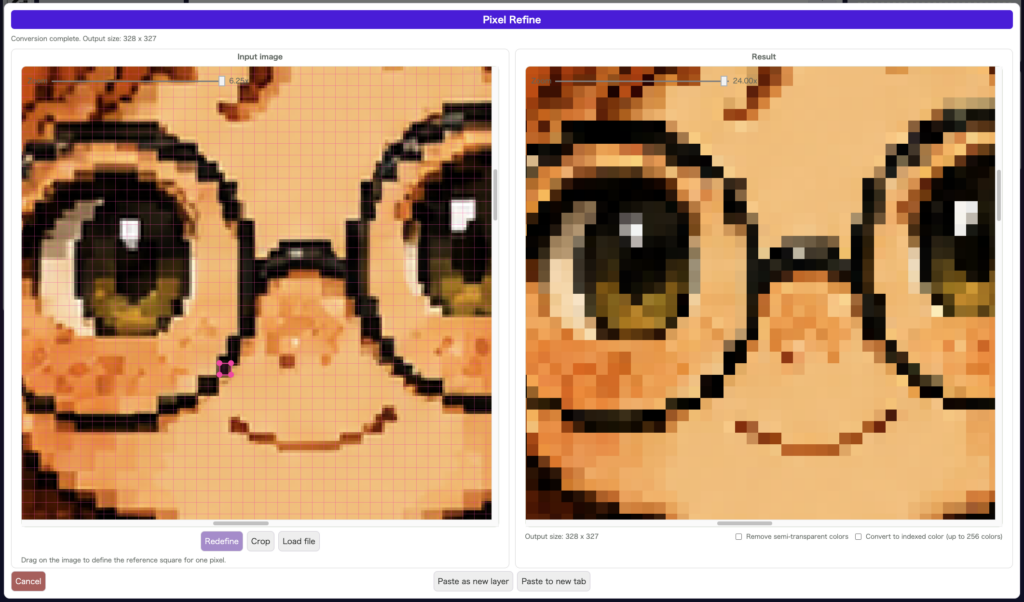
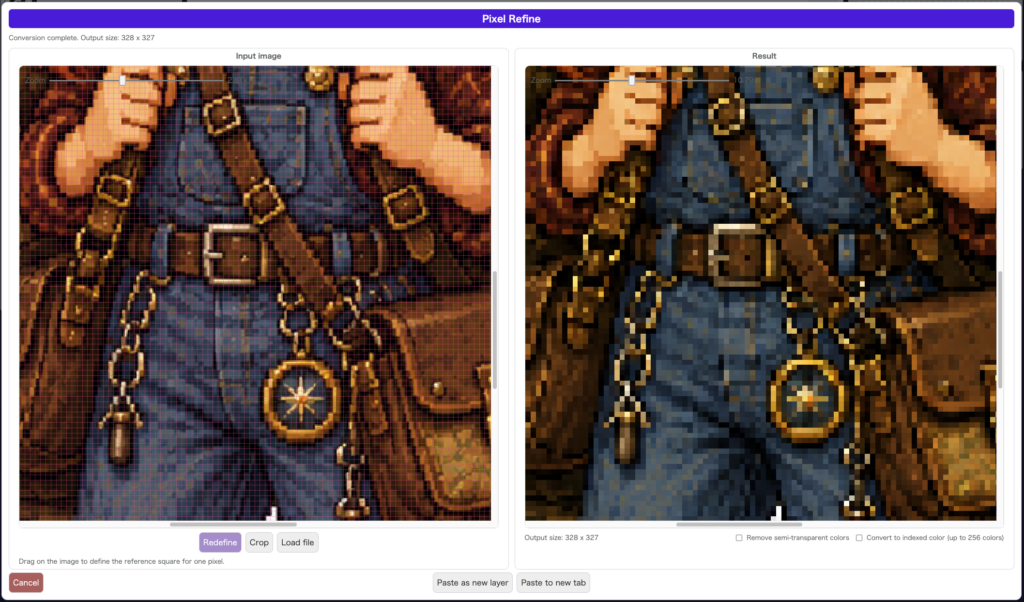
If you want to try again, use Reselect on the left. On the result side, you can also enable Remove translucent colors and Convert to indexed color (max 256 colors) when you want a cleaner asset or a tighter palette from the start.
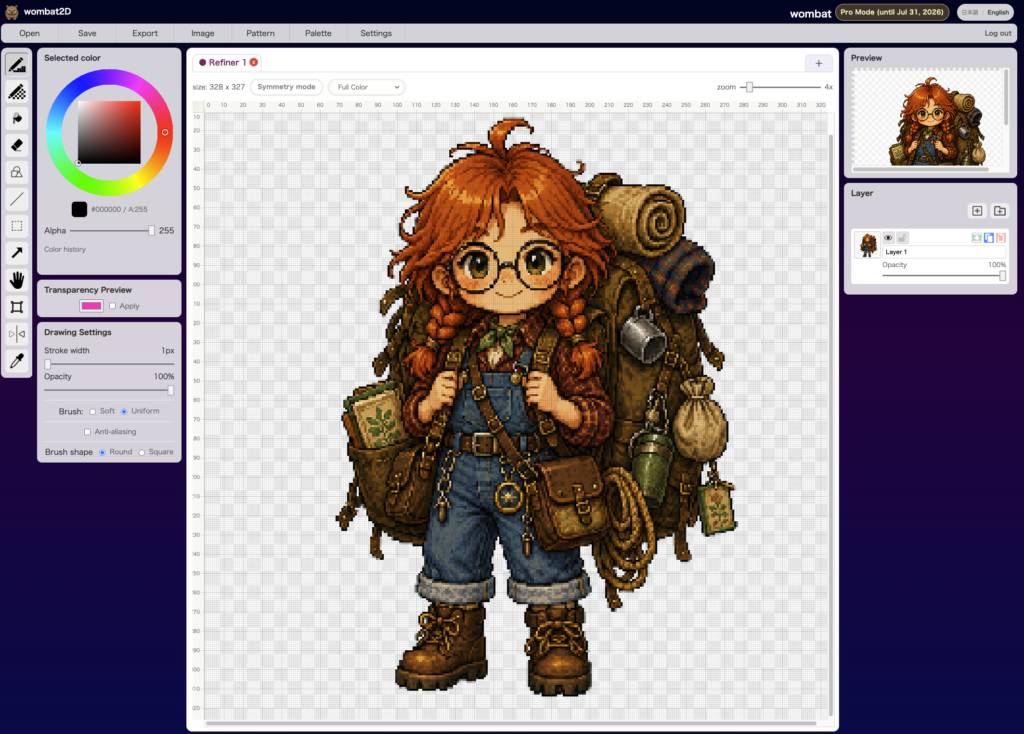
Once the conversion is done, you can Paste as New Layer or Paste as New Tab. Use the first option when you want to add the result to your current working canvas, and the second when you want to treat it as a separate asset.
Good Use Cases
- You want to reorganize an AI-generated image into cleaner pixel art
- You want to turn blurry outlines into crisper pixel-based edges
- You want to convert source material into pixel art before hand-editing it
Notes
- Input images are specified through file loading or drag and drop
- The result view can be checked at different zoom levels
- After conversion, you can continue editing immediately with the normal tools